Garage Door Brace Installation Made Simple: Step-by-Step Instructions
Installing a garage door brace might sound daunting, but it’s easier than you think. In this guide, we’ll walk you through the process step-by-step, ensuring your garage door remains secure and durable against various elements.
Understanding the Importance of a Garage Door Brace
A garage door brace provides crucial support to your garage door, especially during harsh weather conditions like storms or strong winds. Understanding why you need one can help motivate you during the installation process.
Garage doors are one of the largest moving parts in most homes and can be susceptible to damage if not properly secured. A robust brace not only supports the door’s structure, enhancing its durability, but also provides peace of mind that your property is protected from potential weather-related disruptions. During hurricane seasons, the pressure exerted by strong winds can be immense. A well-installed garage door brace ensures your door remains upright and operational, maintaining home safety.
Moreover, the safety provided by a brace extends beyond just storms. Everyday operations can also benefit, as the additional support reduces wear and tear, prolonging the lifespan of the garage door mechanism itself. Investing in a brace truly means investing in the long-term health of your entire garage system.
Gathering the Necessary Tools and Materials
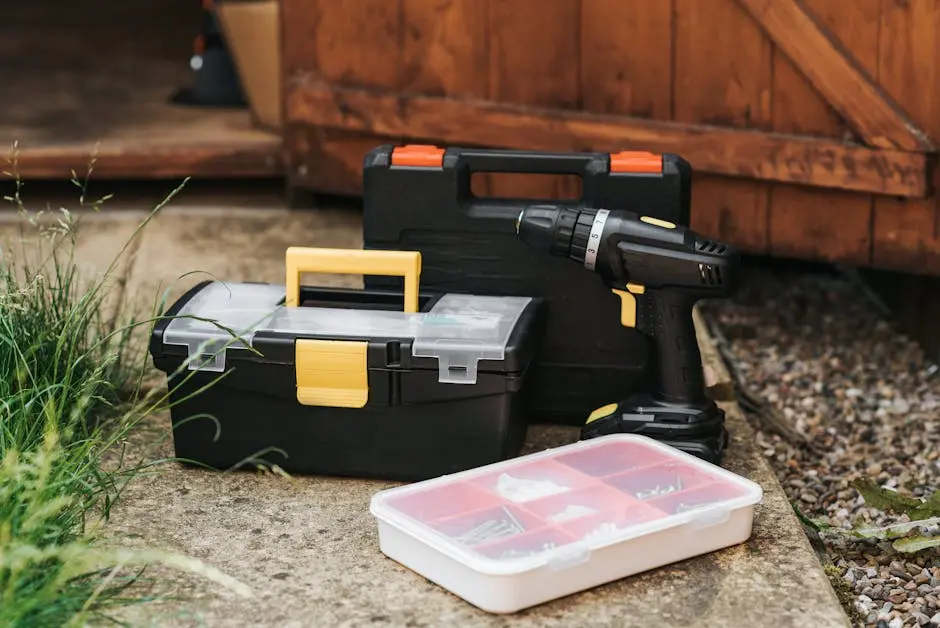
Before starting, you’ll need a few essential tools and materials. Make sure to gather a drill, a set of screws, a sturdy brace kit, and a measuring tape. Having these ready will streamline the installation.
In addition to the standard toolkit, consider wearing protective gear such as gloves and safety glasses to avoid any potential injuries during installation. If you are uncertain about the type of brace kit to purchase, consult an expert at your local hardware store to advise on the most suitable option based on your specific garage door dimensions and material. A little preparation can save a lot of hassle down the line.
Preparing Your Garage Door for Installation
Preparation is key to a successful installation. Begin by inspecting your garage door for any existing damage. Ensure the door is clean and clear of obstructions, providing a solid foundation for the brace.
Next, assess the areas where the brace will be placed to ensure they are free from rust or debris. It is critical that the sections of the door that will support the brace are stable and in good repair. For wooden doors, check for any signs of rot or deterioration that might affect the installation. This stage is crucial to avoid any complications or ineffectiveness of the brace post-installation.
Step-by-Step Installation Process
Start by marking the points on your garage door where the brace will be installed. Follow with drilling holes at those spots, then secure the brace using the screws provided. Careful alignment and attachment are vital for optimal support.
As you mark the installation points, ensure they are evenly spaced to distribute the load. This helps in preventing potential stress spots that might develop over time. Once the marks are in place, use a power drill to make holes precisely on these points. Be cautious to avoid any underlying electrical or mechanical systems within the garage door. For the best results, follow the specific instructions included in your brace kit, which often provide additional detail tailored to your particular model.
Once all components are in place, review each connection to ensure tightness and alignments are correct. A simple tug test on each part can help assess whether any screws need further tightening. Proper attention at this step makes sure the brace functions effectively when needed most.
Testing Your New Garage Door Brace
Once installed, it’s crucial to test the stability and security of your new brace. Operate the garage door several times to ensure there’s no interference and that the brace functions correctly under pressure.
Begin the testing process by observing how the door moves along its tracks. Listen for unusual sounds that may indicate stress or misalignment. The door should open and close seamlessly, with no catching or excessive resistance. Simulate conditions that might demand strength from the brace, like a swift closure or an abrupt halt, to see how it handles such scenarios. This testing phase is not just about ensuring the brace is properly fixed, but also confirming that it enhances the door’s function without impeding it.
Maintenance Tips for Longevity
Regular maintenance is essential to keep your garage door brace in top condition. Check periodically for any signs of wear or looseness, and tighten or replace components as necessary to ensure continued effectiveness.
Schedule seasonal check-ups to assess the integrity of the brace, especially before weather conditions change significantly, such as before winter or storm season. Apply a light lubricating oil to moving parts to prevent rusting and ensure smooth operation. Just as you would with the garage door itself, maintaining the brace will extend its life and protect your investment. By keeping these steps in mind, you ensure that your garage door remains secure and operational for years to come.
A Secure Garage Door Made Simple
By following these simple steps, you can ensure your garage door is well-braced and ready to withstand a range of conditions. Safety and security are just a few steps away with a properly installed garage door brace.

